Build a Wooden Church Lantern
A church lantern in wood and paper, to build with a child and a grown-up.
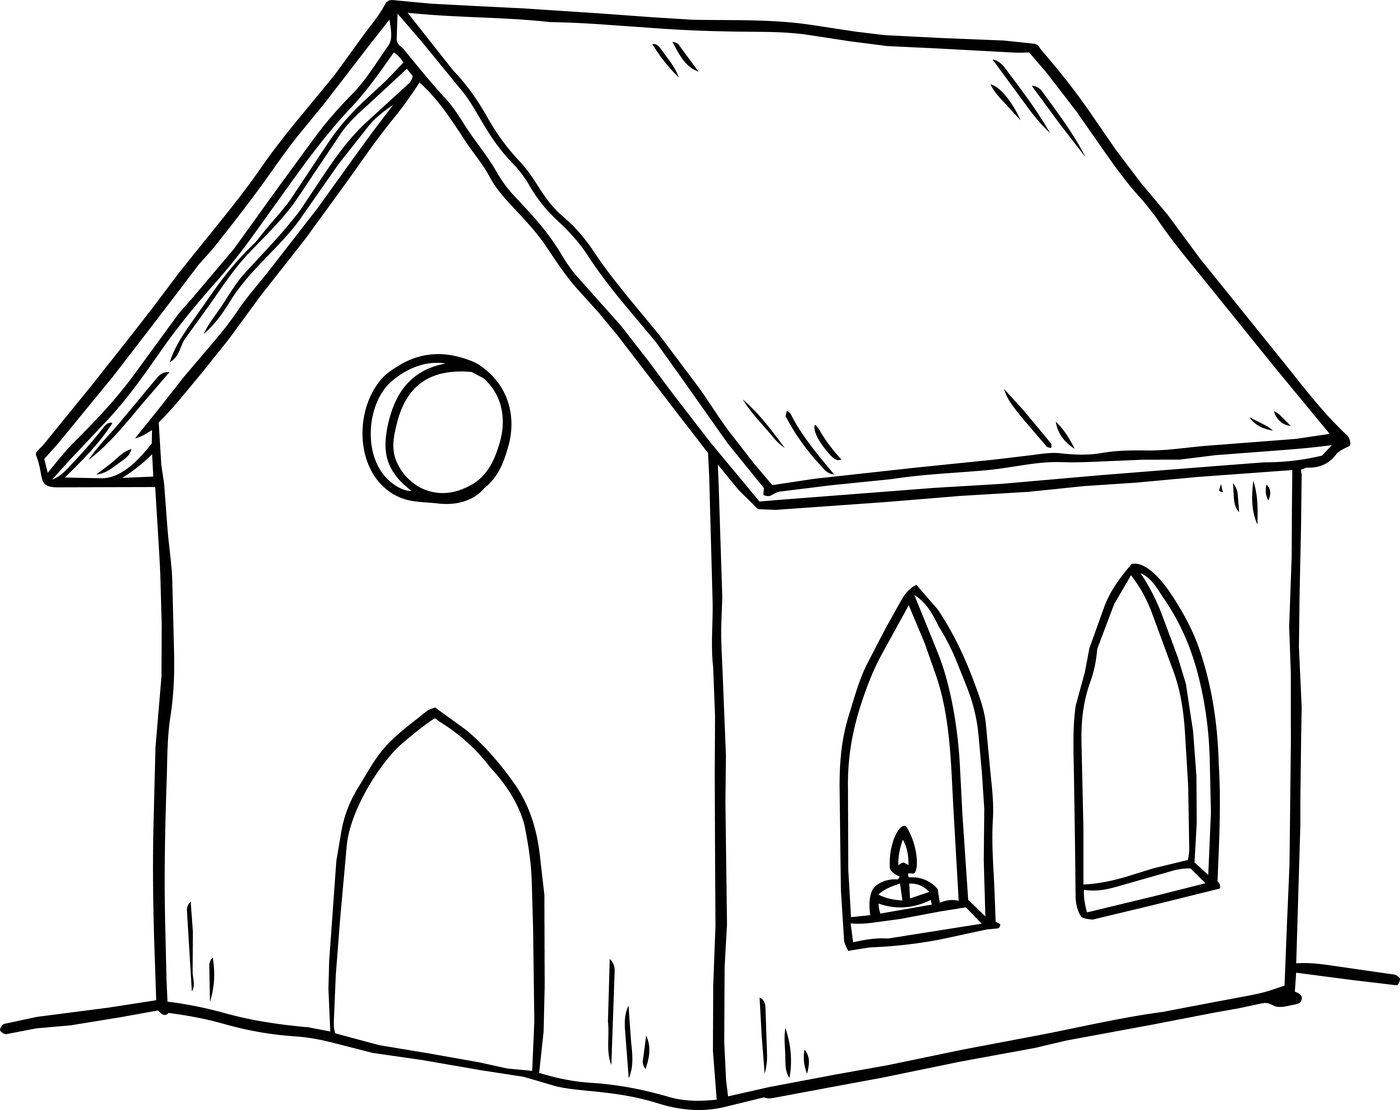
The Kind Boy wished that he were a church and the girl were the candle in it. With these directions you can build your own. It takes about 2 hours, plus drying overnight.
Long before there were street lights, a lit window was how a traveler knew somebody was home. People put a candle in the window so that anyone out in the dark could find their way.
This lantern is made of balsa wood, which is soft enough to cut with a craft knife. A grown-up does all the cutting. Your child can measure, draw, glue, tape and fill the windows. The light inside is a battery tea light, so it is safe to leave on all evening.
What you need
Wood
Two sheets of balsa wood, 1/8 inch thick and 4 by 24 inches. Any craft store or hobby shop carries them.
Windows
One sheet of vellum or tracing paper.
Glue and tape
Wood glue and masking tape.
Tools
A craft knife, a metal ruler, a pencil, a cutting mat or a piece of thick cardboard, and fine sandpaper.
Light
One battery tea light.
1. Draw the pieces
Front and back. Draw two pieces 4 inches wide and 7 inches tall. On each one, make a mark 5 inches up both sides and another in the middle of the top edge. Join the marks to make the pointed roof shape.
Sides. Draw two pieces 3 3/4 inches wide and 5 inches tall.
Roof. Draw two pieces 3 1/4 inches wide and 5 inches long.
2. Cut the pieces
A grown-up cuts along the lines with the craft knife, holding the metal ruler firmly. Several light cuts work better than one hard one. Sand the edges smooth.
3. Cut the windows
Draw a door and a round window on the front. Draw two tall windows with pointed tops on each side. Keep every window at least 1/2 inch from the edges so the wood does not split. A grown-up cuts them out.
4. Fill the windows
Cut a piece of vellum a little bigger than each window. Glue it to the inside of the wall.
5. Build the walls
Stand the front and back up. Glue the two sides between them to make a box. Hold each corner with masking tape and let it dry for an hour. The bottom stays open, so the church can sit over the light.
6. Add the roof
Run a line of glue along the pointed top edges of the front and back. Lay the two roof pieces on so they meet at the top. Tape them in place and let the lantern dry overnight. Then peel off the tape.
7. Light it up
Switch on the tea light and set the church down over it. Turn off the room lights and look at the windows.