Grow a Healing Herb Garden
A windowsill herb garden for the healing pouch. The slowest craft here, and the only one that keeps going.
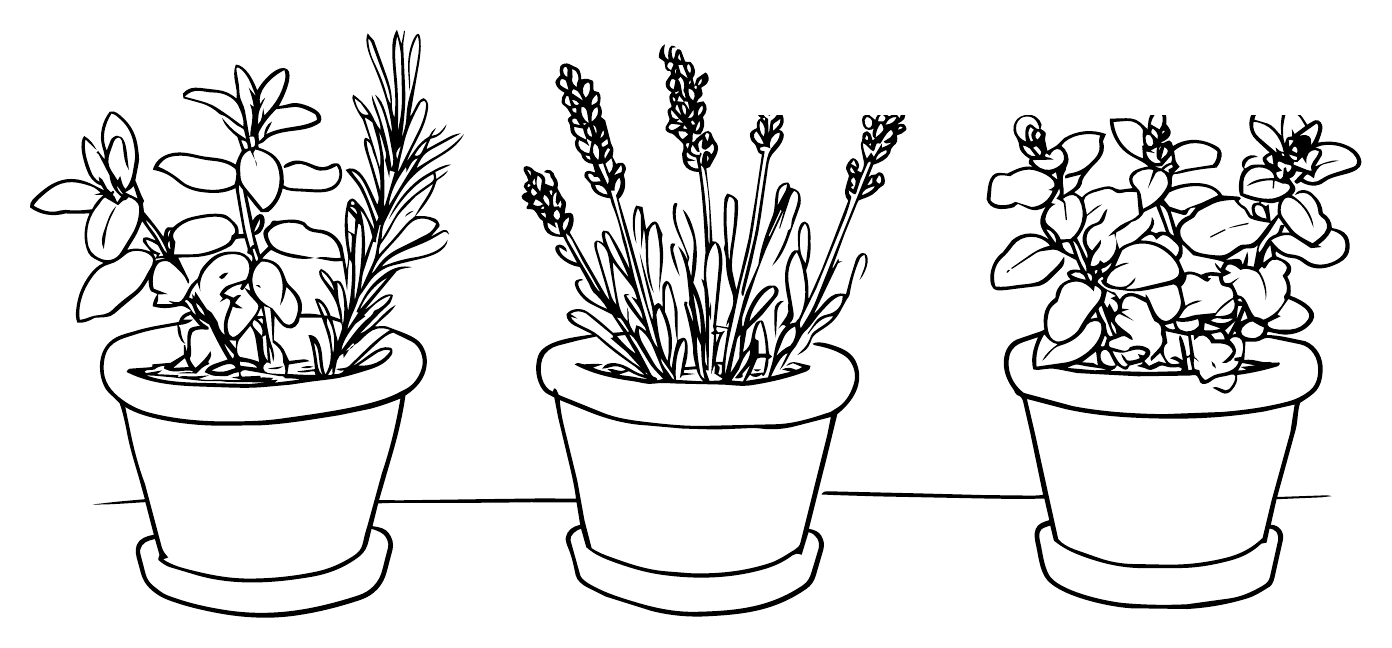
The Kind Boy healed the dragon's sore foot with herbs. With these directions you can grow your own. It takes 30 minutes to plant, then a few weeks to grow.
For hundreds of years, people grew herbs beside the kitchen door. When somebody was hurt or sick, herbs were the first thing anyone reached for. Lavender was used to calm a person down. Mint was used to clear a stuffy head.
This craft is slower than most. The plants need a few weeks to grow before there is anything to pick. Your child will come back to them every few days, and the waiting is part of the project. At the end, the healing pouch is filled with something your child grew.
What you need
The pot
1–2 wide pots, at least 6 inches across, with a hole in the bottom. Stand each pot on a saucer.
The plants
Two small starter plants, not seeds. Choose from lavender, mint, lemon balm or rosemary. Mint spreads quickly, so give it a pot of its own.
The soil
One bag of potting soil. Mix in a handful of sand if you have some, because herbs like to drain.
For drying
String and a paper bag.
For filling
The healing pouch, needle and thread.
A sunny windowsill
1. Choose the herbs by smell
At the garden center, find the herb table. Rub one leaf of each herb between your fingers. Then smell your fingers. Pick two plants. Choose the scents you would want to smell if you felt ill. Buy pots too if you don’t have any. Terra cotta pots are the best.
2. Plant the pot
Fill the new pots with potting soil to about 2 inches below the rim. Ease each plant out of its plastic pot. Gently loosen the roots, which will be wound into a tight circle. Make a hole for each plant with your hands. Set the plant in and press the soil down firmly around it.
Fill a bowl or cooking pot with water. Place the newly planted pots into the bowl and leave the pots to soak. When the top of the soil is damp, lift the pots out and let them drain. Then put them on a sunny windowsill.
3. Keep it alive
Every few days, push a finger into the soil up to the first knuckle. If the soil feels dry, water it. If it feels damp, leave it alone.
When a plant has six or seven leaves, pinch off the top pair with your fingernails. The plant will grow two new stems where there was one. Turn the pots a quarter turn each week so the plants grow straight.
4. Cut and dry
When the plants are a handful bigger than when you bought them, cut a few stems just above a pair of leaves. Never take more than a third of a plant at once.
Tie the stems into a bundle with string. Hang the bundle upside down inside an open paper bag, somewhere dark and dry. Leave the herbs for two weeks. They are ready when a leaf crumbles instead of bending.
5. Make a healing pouch
Make something to hold the herbs. It can be a pillow you sew yourself, a sock or a stuffed animal.
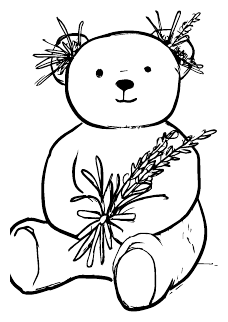
6. Fill the healing pouch
Strip the dry leaves into a bowl. Crush them gently between your palms to wake up the smell. Spoon the leaves into your healing pouch. Leave enough room to be able to squeeze it. Stitch up the opening in the pouch with a needle and thread.